The Inspiration
This piece is for round four of Iron Painter season 8. The theme is “Forbidden”. Many ideas came in mind: Forbidden Love (between a mermaid and a man), Forbidden Ritual (Necromancy, Love-craftian, Cthulhu), and Forbidden Entrance (blocked passage). After brainstorming with my husband, I finally settled on Forbidden Ritual – Cthulhu style.
The Materials
This is my first diorama with dual views where you can view one story from one side and another story on the other side. For this one, I want to make it so that if you view from side A, you will only see a lady summoning the Elder. If you turned the piece around to side B, you will see the little girl in peril.
As for the figures: I used the Keith Parkinson’s Sorceress from Dark Sword Miniatures, the Well of Doom from Reaper Miniatures, the Little Girl from Privateer Press Warmachine Nightmare Helljack, various skulls and candles from Reaper Miniatures and flagstone resin base from Secret Weapon Miniatures.
The Creation Process
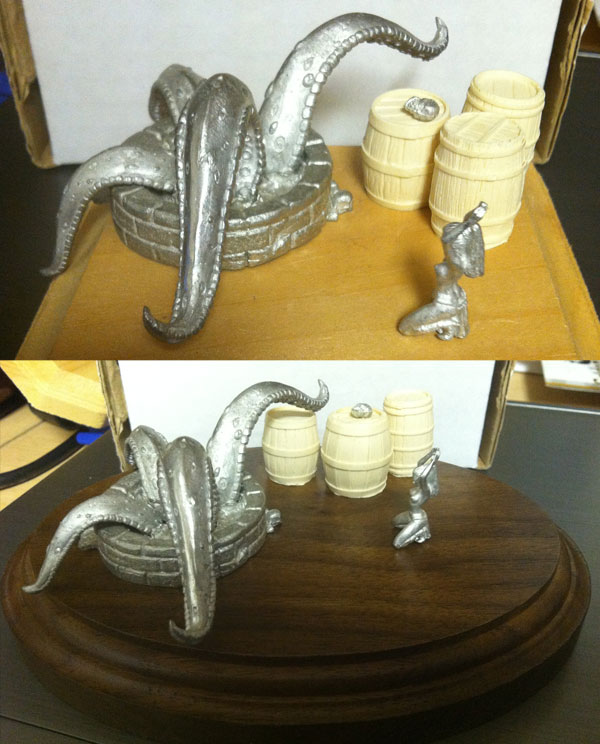
For this diorama, all the pieces have to fit onto the base. I collected display bases in the house and do quick staging with different size bases. But then I had a problem covering the base with the floor element that will have some continuity with the well. The small base wouldn’t require a lot of floor covering, but the setting looked cramped. The big walnut base, while it gave ample room to work around, it also requires a lot of flooring material, which I won’t have time to do.
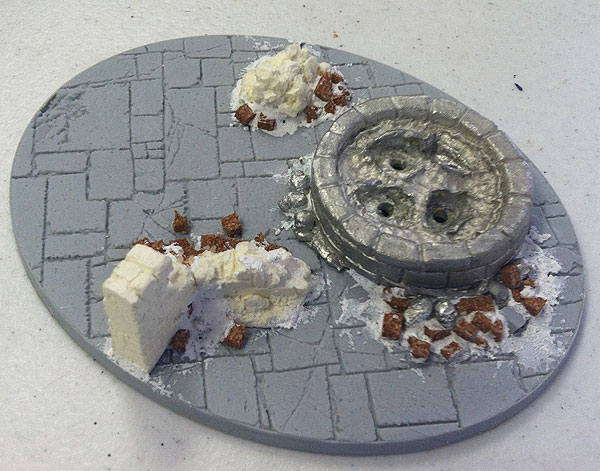
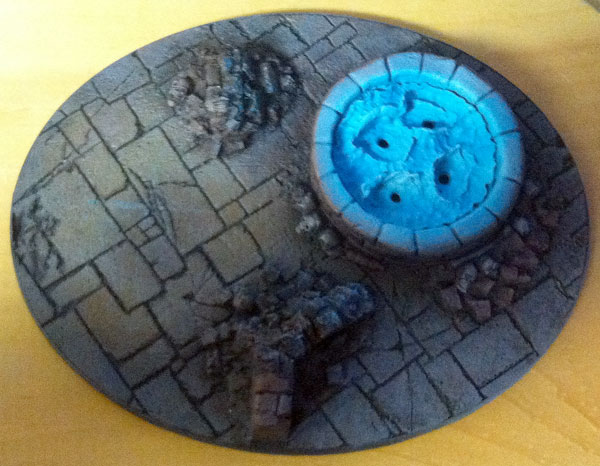
Luckily, I found the oval resin base with flagstone textures that is just the perfect size for what I need. The problem is that I can’t mount it on the nice wooden display base because the art/craft display base is slimmer than the Secret Weapon base. Oh well, if I had to sacrifice something, it will be the wooden display base. Onward to the next step!
I ditched the barrels because they were too big for our delicate sorceress. Instead, I used resin wall rubbles, bricks pieces (I can’t find who makes it because I don’t have the label anymore), skull bits and sand paste, I created the rubble around the well and the what’s left of the wall structure.
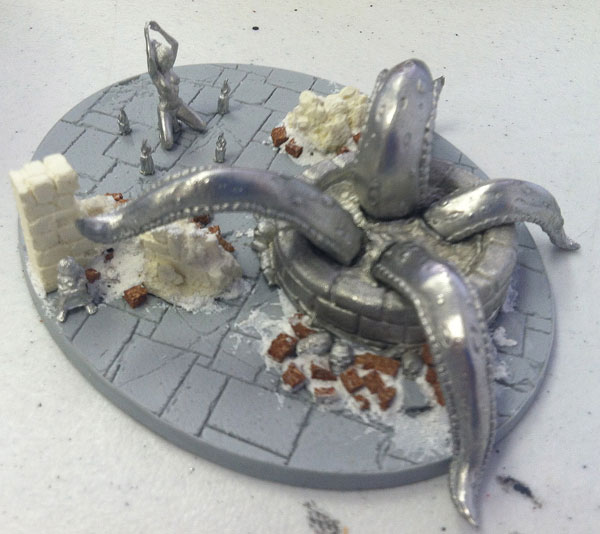
After the structural work was done, I added the characters: tentacles, sorceress and the little girl – making sure her position is perfect so that her eyes are gazing towards the tentacle that’s whipping towards her.
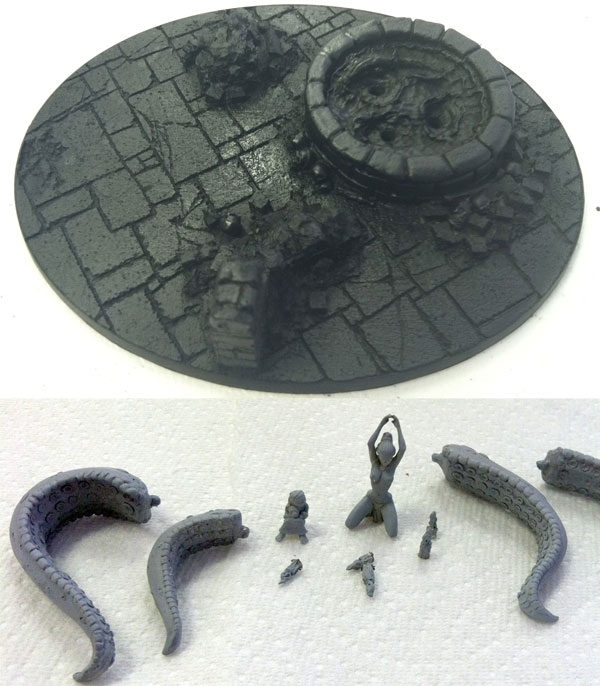
Once I am happy with each character’s position. I primed the base black because the ambiance will be dark to make the OSL projects more vividly. I also primed each character pieces separately in light grey.
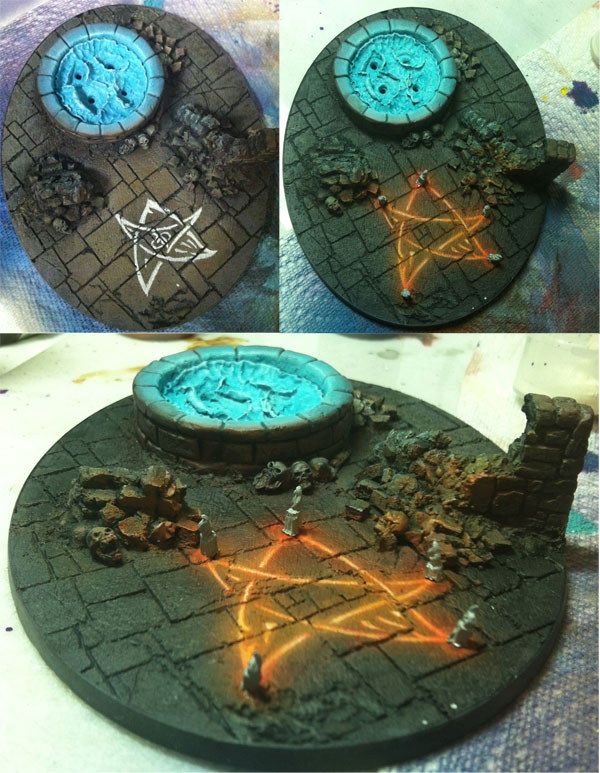
And the painting process began. Using airbrush, I lightly spray various shades of grey and brown to the floor, the well and the walls. Using the dry staging photo that I took earlier as my lighting reference, I sprayed the area with burning candles the brightest. Once I was happy with the color, I continue spraying the water in the well with bluish grey, followed with white. Then I sprayed it lightly with turquoise and light blue to create the magical glow. Here’s what it looks like.
After the basic work was done on the base, I continued painting the “Elder Sign” on the floor. This sign will also have a glow effect, so I started off with freehand painting the sign with white and gradually sprayed it with in concentric pattern: red for the shade, glazed the freehand with white, sprayed orange for mid-tone, glazed the freehand with white and final spray of yellow for the light source. As you can see, I modified the freehand by removing some detailed elements because it just wasn’t look good. Simple is better. 🙂 Once I was done with the glowing sign, I went ahead and lightly sprayed the walls and rubbles with white and then hit it with yellow and orange. To finish the lighting effect, I glazed the walls with burgundy red.
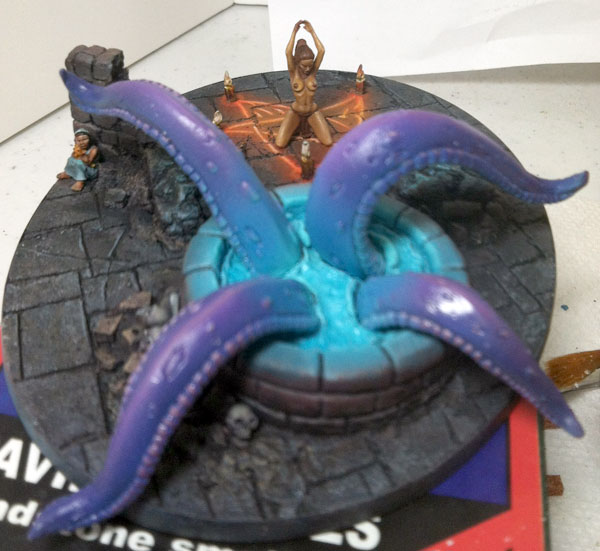
Now that the base is done. I went ahead and painted the characters. I repeatedly painted and did dry fitting to make sure I got the glowing effect reflected on each of the tentacles and the sorceress.
After many, many touch ups to enhance the mood and ambiance, here is the final piece. I hope you enjoy this step-by-step article!
